A ring occupies only a few centimeters, yet it can change the balance of an entire denim outfit. Hands move, enter pockets, hold a phone, adjust a jacket, and appear near a belt or bag. A turquoise-colored motif that looks small in a product image can become a strong moving focal point—or vanish beside several bracelets and decorated cuffs.
This guide builds proportion outward: ring face to finger, finger to hand, hand to wrist, wrist to sleeve, sleeve to jacket, and jacket to the full silhouette. Two current Oroxen rings demonstrate different fit language: one is labeled “One Size,” and the other “Adjustable.” Neither label is a fit guarantee. Confirm actual dimensions, adjustment instructions, materials, and option-specific facts before purchase. “Turquoise,” “vintage,” “cactus,” and “cross” are product and style terms, not proof of composition, age, origin, or craftsmanship.
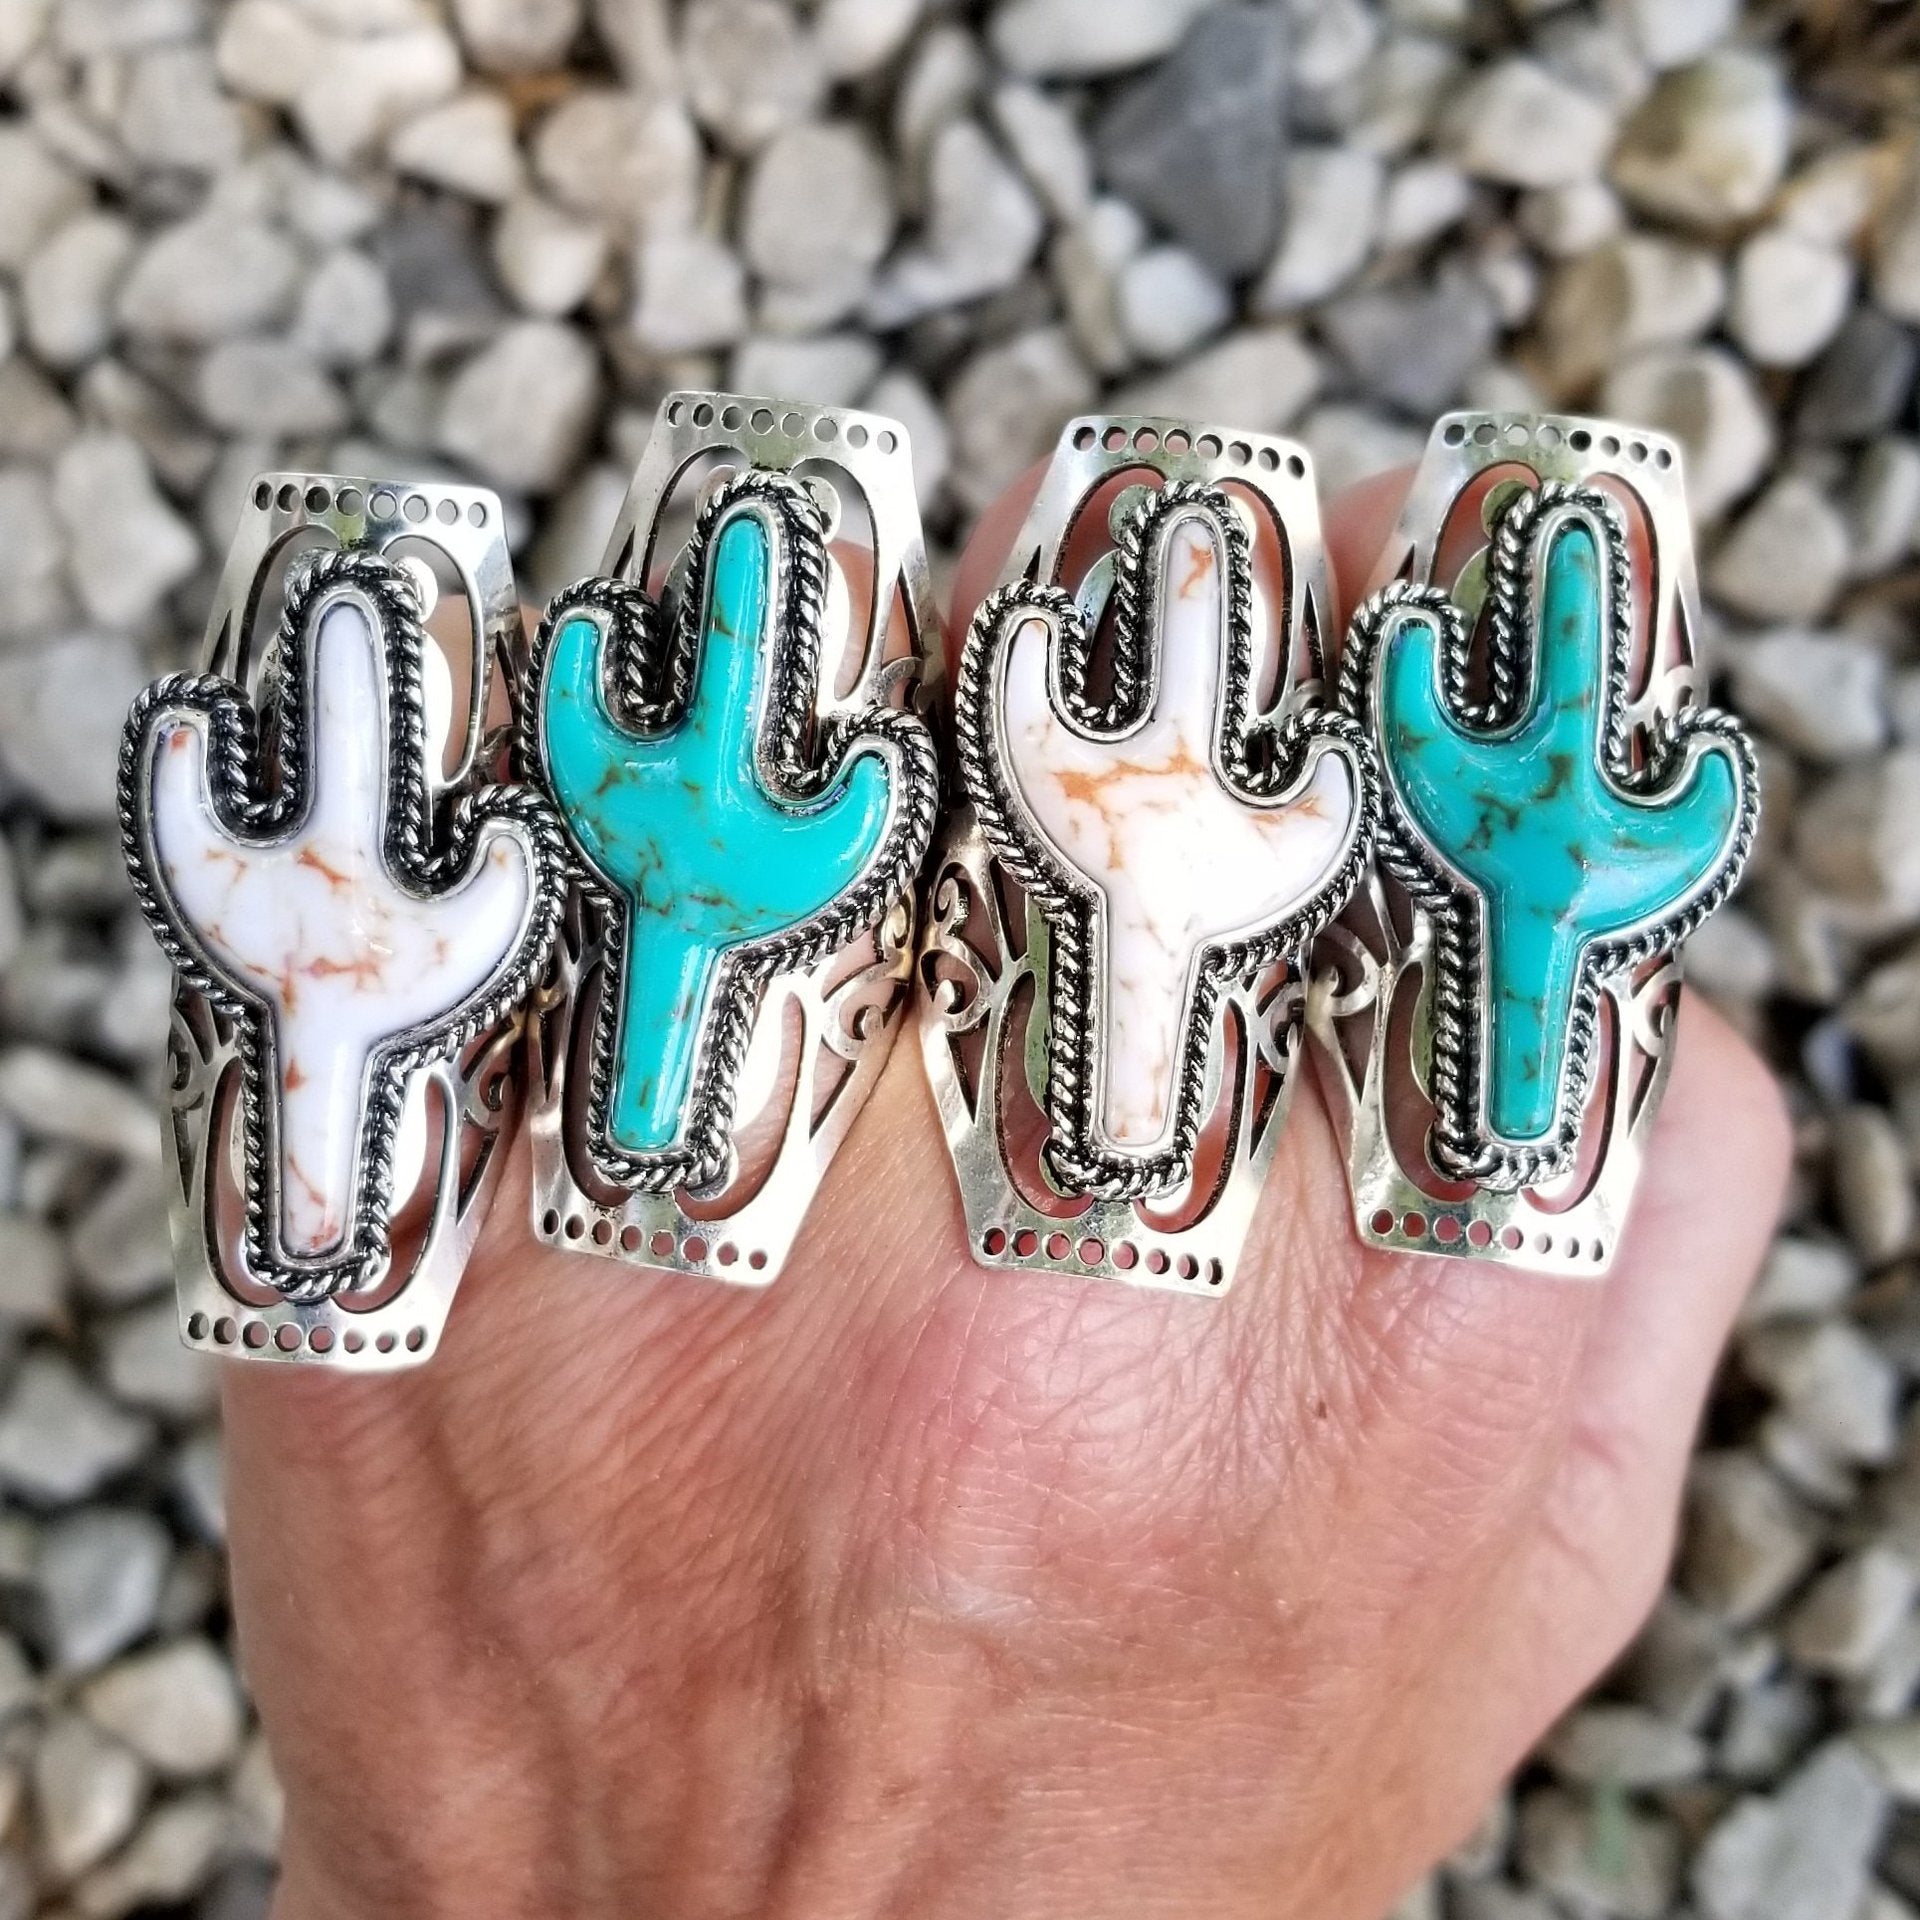
Quick Answer: Balance the Moving Hand, Not a Static Close-Up
Choose one hand role: ring focal point, ring-and-bracelet relationship, or quiet hand supporting stronger earrings or necklace. Then photograph the outfit with the hand resting naturally at the side, holding a phone, entering a pocket, and near the jacket buttons. The ring should be readable when intended without colliding with every other strong detail.
A broad or motif-led ring often benefits from a quiet neighboring finger and controlled wrist stack. A smaller face can gain importance through color contrast, bare fingers, or a clean jacket cuff. Matching every turquoise-colored accessory is unnecessary; one distant echo can create balance.
Use the Turquoise Jewelry Guides for the larger subject. For fit, styling, and care questions specific to rings, read the published How to Choose a Western Turquoise Ring: Style, Fit & Care.
Step 1: Ring Face to Finger
Record the visible face length and width, band width, inner size or diameter, and intended finger. The same ring face covers a different proportion of an index finger than a pinky. Knuckle width, finger taper, dominant-hand swelling, temperature, and time of day influence fit.
Use a known ring or professional measurement rather than guessing from height, clothing size, or photographs. Measure the finger intended for wear, on the correct hand, under normal conditions. If a product is labeled “One Size,” ask what exact inner measurement that represents and whether the band opens or remains fixed.
A motif should sit in the intended orientation without rotating uncontrollably. Rotation may indicate fit, weight distribution, or hand-shape interaction. A wide face can require more clearance between fingers. Product photography cannot predict that sensation.
Step 2: Finger to Hand
Choose a distribution pattern.
- Single anchor: one motif ring on an otherwise quiet hand.
- Two-point balance: focal ring plus a smaller plain or geometric ring on another finger.
- Asymmetrical hands: focal ring on one hand, watch or bracelet on the other.
- Edited multi-ring look: several rings with one clear leader and enough physical clearance.
Make a fist gently, type, hold a cup, grip a steering wheel while stationary, and use jacket pockets. Remove combinations that pinch neighboring fingers or strike hard objects. Styling does not justify unsafe or uncomfortable hand use.
Step 3: Hand to Wrist
A ring and bracelet are read together whenever the hand rises. If the ring has a large cross, cactus, or turquoise-colored area, a dense wrist stack can create one heavy block. That may be intentional for a statement, but it should be tested at full-body distance.
For a quiet balance, wear the ring with no bracelet or one narrow piece. For a medium balance, repeat one color or finish at the wrist while changing motif. For a maximal balance, distribute scale so the bracelet does not physically contact the ring during wrist flexion.
A watch adds another strong rectangle or circle. Compare watch and bracelet on the same wrist, opposite wrists, and watch alone. Choose the arrangement with clear visual order and comfortable movement.
Step 4: Wrist to Denim Cuff
The denim sleeve is the ring’s nearest garment frame. A full sleeve may cover bracelets but leave the hand isolated, making the ring more important. A rolled cuff exposes the wrist and introduces a thick horizontal line. A frayed or decorated cuff adds texture and competition.
Test three sleeve states: down, single broad roll, and narrow double roll. Keep the ring arrangement constant and photograph the hand naturally. The best sleeve state is the one that creates the intended hierarchy and survives movement.
Check buttons and snaps when reaching into pockets or crossing arms. A projecting ring face can catch fabric or strike jacket hardware. Exact risk depends on dimensions, profile, construction, and activity, so obtain product facts and test gently.
Step 5: Cuff to Jacket
Jacket wash, buttons, chest pockets, patches, pins, and embroidery determine how much attention remains for the hand. A plain dark jacket can give a turquoise-colored ring high contrast. A decorated jacket may require a quieter wrist and fewer rings.
Do not hold the hand unnaturally near the chest to make the ring visible. Judge the outfit while standing, walking, sitting, and using the phone. A hand-level focal point is kinetic: it appears during ordinary gestures. This intermittent visibility can balance strong jacket structure without competing continuously.
Step 6: Jacket to Full Silhouette
Add trousers or skirt, shoes, bag, belt, earrings, necklace, hat, and outerwear. Identify the first three places the eye travels. If the ring should lead, reduce one stronger belt, bag, or face-level signal. If it should support, allow the stronger element to lead and use the ring as a repeated color or motif.
Take a rear-camera full-length image. Then crop only after recording the full verdict. Product-scale close-ups should never be the sole evidence for outfit balance.
Build a Ring Shortlist by Proportion Job
Browse the Western Rings collection and assign each candidate a job: single hand anchor, color echo, motif repeat, two-ring partner, or event statement. Sort by visible face shape and documented fit before choosing by color.
Open the exact listing and record color option, size label, inner measurement, face dimensions, band width, profile height, weight, materials, finish, adjustment instructions, care, current availability, shipping, and returns. Unknown fields remain unknown until the seller answers.
Product Example One: Turquoise Cactus Cross Ring
The Turquoise Cactus Cross Ring combines cactus and cross motif language with turquoise-colored details. Its current page displays two color choices and a Size selector labeled “One Size.” That label does not establish the inner diameter, circumference, US ring size, adjustability, or finger compatibility.
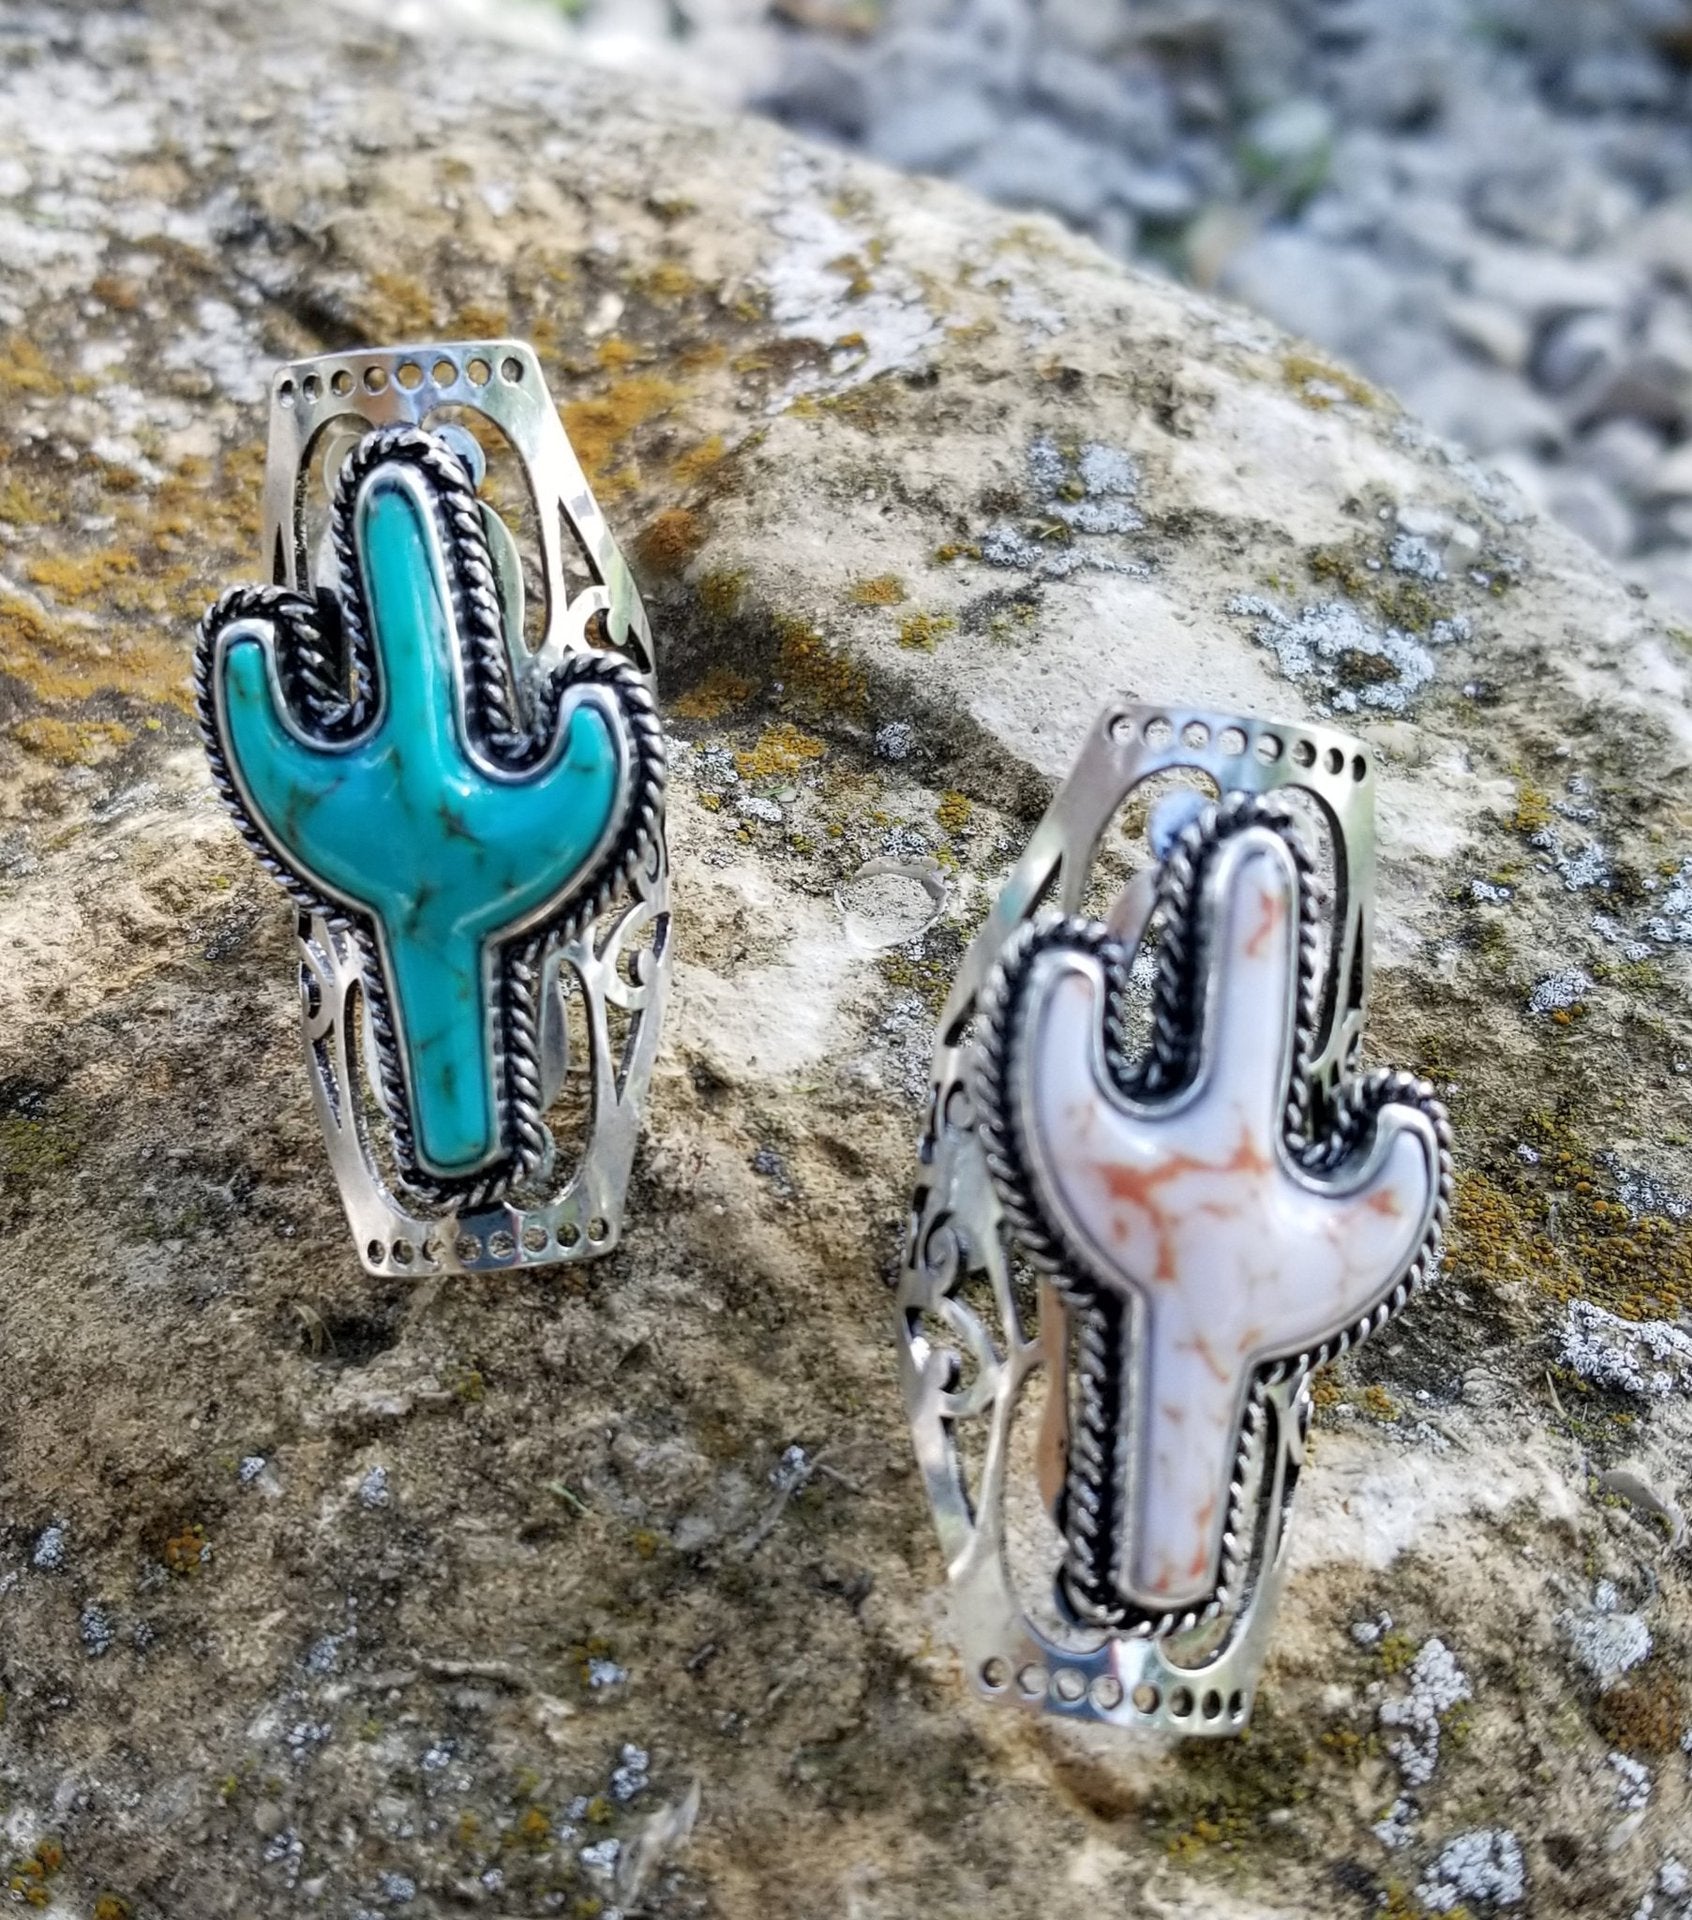
Proportion route
Use the ring as a single anchor on the index or another appropriate finger after fit confirmation. Keep adjacent fingers quiet and let a plain denim cuff frame the hand. The cactus-plus-cross imagery already carries multiple visual signals, so a motif bracelet and heavily decorated jacket may create excessive repetition.
Questions before purchase
Ask what “One Size” measures, whether the band is open or fixed, and whether adjustment is permitted. Request face length and width, band dimensions, inner measurement, weight, materials, finish, and care for each color option. Confirm which images correspond to each color.
Product Example Two: Turquoise Vintage Cross Ring
The Turquoise Vintage Cross Ring currently shows two color choices and a Size label of “Adjustable.” Adjustable does not mean universal, unlimited, or safe to bend repeatedly. Obtain the starting size range, adjustment method, and seller instructions.
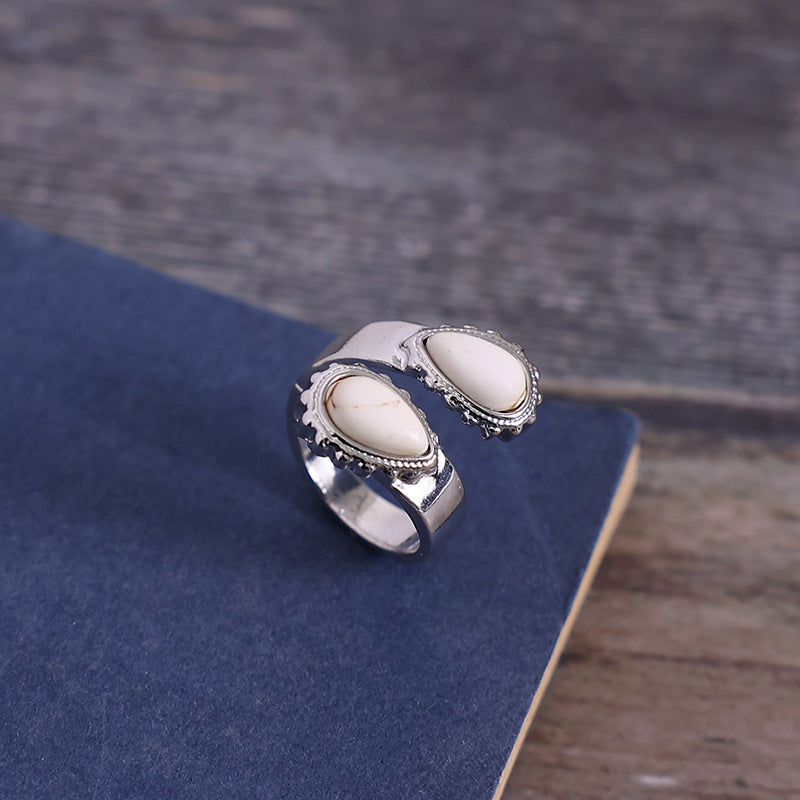
Proportion route
Let the cross motif create the hand-level focal point with a single narrow bracelet or no wrist jewelry. A dark denim sleeve can provide contrast. For a more detailed hand, add one small geometric ring rather than another literal cross, then test finger clearance.
Questions before purchase
Ask for the adjustment range, starting inner size, permitted number and method of adjustments, face dimensions, band width, weight, materials, finish, and care. Confirm whether both color choices share all specifications. Never force a ring beyond the documented range.
Compare the Motifs Without Declaring a Winner
| Decision | Cactus-cross route | Cross route |
|---|---|---|
| Visual signal | Compound motif | Single primary motif |
| Fit language | One Size—needs exact meaning | Adjustable—needs range and method |
| Supporting jewelry | Quieter nearby motifs | Geometric or color echo can support |
| Evidence gap | Dimensions, weight, materials, finish, and care require confirmation | |
Use the Video for Outfit Relationships
The paired video is “Wear It With Style: Turquoise Jewelry” by JTV. It is retailer-produced and may contain sales context. Watch it completely before citing a specific idea. Use it to study placement, color contrast, scale, and the relationship between jewelry and clothing—not as product evidence for these rings.
Do not copy the transcript or transfer claims about another item’s materials, stones, origin, value, construction, or care. Convert a visual idea into a hand-and-denim test, then verify the exact ring independently.
Balance Failures and Repairs
- Ring vanishes: quiet the neighboring fingers or create stronger sleeve contrast.
- Hand looks crowded: remove one bracelet or competing ring.
- Motifs repeat everywhere: keep one literal lead and echo color or geometry instead.
- One Size is treated as universal: obtain the actual inner measurement.
- Adjustable is treated as infinitely bendable: follow the documented range and method.
- Ring catches denim: test profile, pocket use, cuff hardware, and movement.
- Full outfit has no hierarchy: assign ring, face jewelry, and belt clear first, second, and third roles.
For wider styling context, read Cowgirl Jewelry Style Guide. For event movement, use What Jewelry to Wear to a Country Concert.
Create a Twelve-Frame Hand Contact Sheet
Use the phone timer and photograph twelve ordinary positions: hand at side, palm forward, palm inward, jacket pocket entry, holding a phone, typing, gripping a cup, carrying keys, closing a bag, adjusting the jacket, seated hand on lap, and hand near the belt. Keep the full outfit visible in at least half of the frames. The sheet shows when the ring leads, when it supports, and where it collides.
Mark each frame green, yellow, or red. Green means comfortable and visually clear. Yellow means the ring shifts, disappears, or approaches a hard surface. Red means pinching, catching, unstable rotation, blocked movement, or impact. A ring should not be promoted from yellow to green merely because its close-up is attractive.
Assign the Ring to the Right Hand Job
The dominant hand often performs more phone, key, writing, tool, and bag tasks. The nondominant hand may carry a watch or stabilize objects. Test the ring on the intended finger of each suitable hand rather than assuming symmetry. Finger sizes can differ, and the same motif may face a different visual direction.
For a desk day, minimize contact with keyboard edges and mouse use. For errands, inspect pockets, keys, carts, and bag closures. For driving, test grip only while the vehicle is parked. For an event, include handshakes, photos, food, and coat handling. Remove jewelry when an activity, workplace rule, or safety requirement makes wear inappropriate.
Record a Proportion Ratio Without Pretending It Is Universal
Divide the ring-face width by the visible finger width in the same photograph. The result is a personal comparison number, not a beauty rule. A larger ratio signals more finger coverage; a smaller ratio leaves more skin and may feel quieter. Repeat the calculation for both rings using equal camera distance.
Use the ratio to explain preference: “I want the ring to cover about this much of my index finger,” rather than “large rings suit everyone with this hand shape.” Combine the number with comfort, rotation, profile, and full-outfit hierarchy. Proportion describes the relationship; it does not dictate taste.
Frequently Asked Questions
What does One Size mean for a ring?
It is a listing label, not a standardized universal fit. Ask for the exact inner measurement, construction, and intended size range.
Can I resize an adjustable ring repeatedly?
Do not assume so. Follow the seller’s documented adjustment range and method. Repeated bending may stress some constructions.
Which finger gives the best proportion?
There is no universal best finger. Compare face coverage, comfort, rotation, adjacent-finger contact, dominant-hand activity, and the surrounding ring arrangement.
Can I wear a ring and bracelet on the same hand?
Yes, when visual hierarchy and physical clearance work. Test wrist flexion, grip, sleeve contact, and hard-surface impact.
Does turquoise in the title prove the material?
No. It may describe color or style. Seek explicit option-specific material documentation.
How should a ring be gifted?
Obtain a reliable finger size and fit preference, verify the exact range and construction, and preserve returns. A shared-choice gift may be better when sizing is uncertain.
Where should I browse next?
Compare current products in Western Rings, expand to the Western Jewelry collection, or return to the Oroxen home page.
Final Proportion Chain
Ring face fits the finger; the finger arrangement fits the hand; the hand balances the wrist; the wrist clears the denim cuff; the cuff supports the jacket; and the jacket belongs to the full silhouette. Break the chain at any point and the outfit feels awkward or becomes uncomfortable.
Measure, photograph, move, and verify. The ring does not need to dominate every moment. It needs a deliberate role that survives real hand use and rests on product facts rather than a convenient size label.